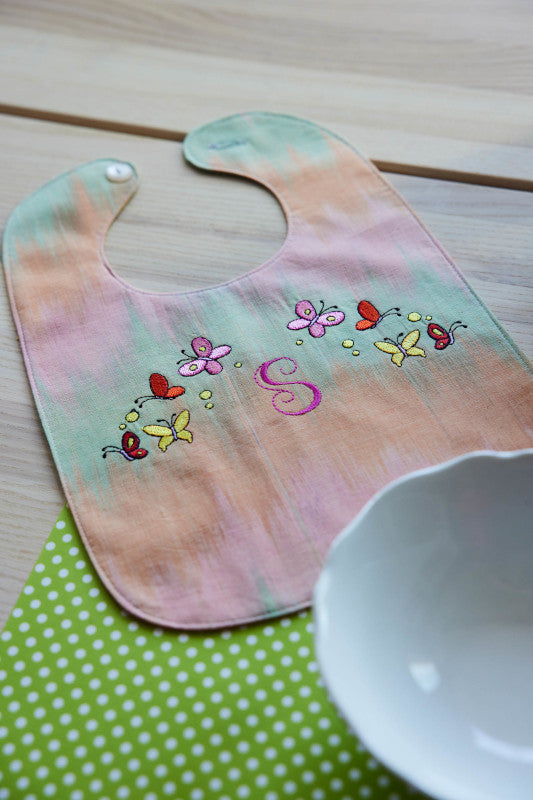
Embroidery Software Basics
CREATIVATE Education
June 17, 2025
Basic Operations
Open and manipulate embroidery designs in your hoop with these essential features:
- Copy and paste elements
- Rotate, flip and center your Design
- Change thread colors
- Save and Export
- Print a template
- Export the finished Design in a wide range of embroidery formats.
|
Open mySewnet Embroidery and select Blank Canvas.
|
 |
|
Click the File tab and select Open. Open the “Frollicking Butterflies” design from the mySewnet Library. |
 |
|
The design will appear selected with a square border and handles:
|
 |
|
Move the design to the right side of the hoop. Use the round handle to rotate it clockwise. |
|
|
Use Duplicate from the top menu (or right-click the design and choose Duplicate) to create a second copy. |
|
|
Mirror the second design horizontally by clicking the triangle handle. Rotate it to match the first design. Use the grid to align the two designs as mirrored pairs. |
|
|
Click File > Insert to add another design — in this case, a letter. |
 |
|
Place the letter in the center between the two butterfly designs. |
|
|
Select the letter and open Color Select from the Design Panel. |
|
|
Choose your thread color:
|
|
|
All three design elements appear in the Filmstrip on the left (this feature isn’t available in Basic mode). This lets you rearrange the stitch order easily. |
|
|
Combine all designs into one complete design using Combine All. |
|
|
You’ll see all the colors used in the design listed in the Color Select panel. |
|
|
Click ColorSort to merge duplicate colors — this reduces extra thread changes unless colors overlap. |
|
|
If you have a mySewnet-enabled machine, you can send the design directly to it or save it to the Cloud. This converts the design into a stitch-ready format. |
|
|
To save your design for later editing, click File > Save As and save it as a .vp4 file. |
|
|
To save in a different embroidery format, use Export instead. |
|
|
In the Export window, choose the file format your machine requires. |
|
|
You can also adjust sewing settings here temporarily under Optimize for Sewing, or change automatic settings in Configure. |
|
|
To print a template, go to File > Print. This is helpful for testing placement or alignment. |
 |


