
Crea un bloque de colcha Spiro con el Quilt Block Wizard
CREATIVATE Educación
15 de julio de 2025
Crea un bloque de colcha Spiro con el Quilt Block Wizard
El Quilt Block Wizard la herramienta «Spiro» forman una combinación sorprendentemente potente. El resultado parece intrincado y complejo, pero, como verás, se consigue en solo unos sencillos pasos. Es una técnica fantástica que conviene tener en tu repertorio para bloques de patchwork, paneles decorativos o cualquier proyecto que requiera un diseño geométrico llamativo.
Lo que necesitarás
- Creativate Extra Elite (Windows o Mac)
Instrucciones
Crear el diseño Spiro
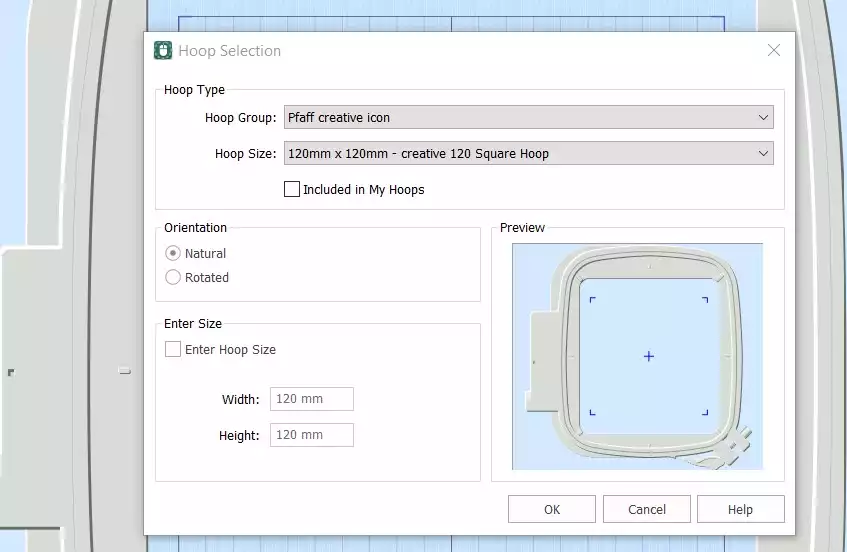
- AbreEmbroidery Creativate y selecciona Lienzo en blanco, y configura el tamaño del aro en 120 mm. Haga clic en OK.
- Ir a la Ficha Crear y haga clic en Spiro. Cuando se abra el cuadro de diálogo, establece el tamaño en 100 mm y haga clic en Aleatorio. Haga clic en OK al ver el mensaje de advertencia, se generará un nuevo Spiro. Sigue haciendo clic Aleatorio hasta que encuentres un diseño que te guste. También puedes utilizar los controladores para ajustar la forma manualmente. Haz clic en OK cuando haya terminado.
Consejo: Para obtener una guía completa sobre el asistente Spiro, escribe «Spiro» en la función de búsqueda de Studio.
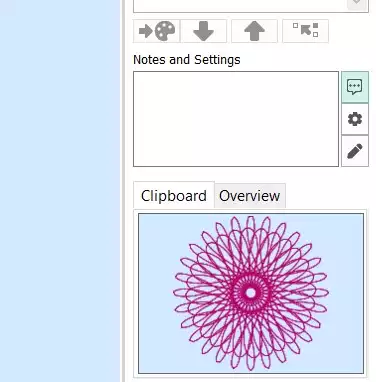
- Ve a la pestaña «Inicio» y haz clic en «Copiar». El Spiro se guardará ahora en el portapapeles.
Confecciona el bloque de colcha
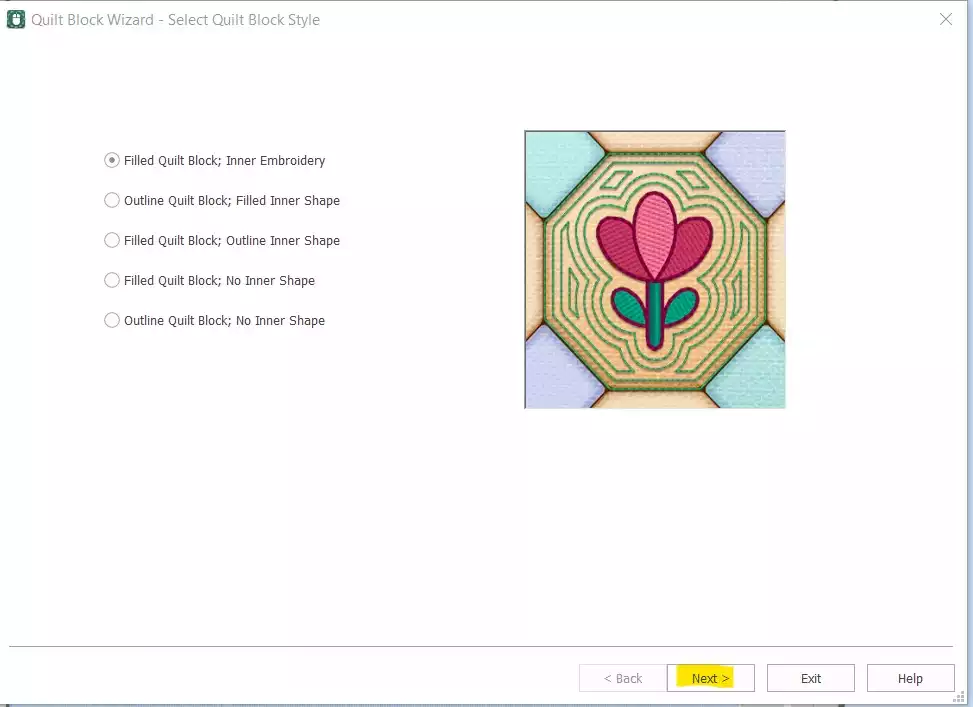
- Ir a Crear → Bloque de colcha y select Bloque de colcha relleno: Embroidery interior. Haga clic en Siguiente.
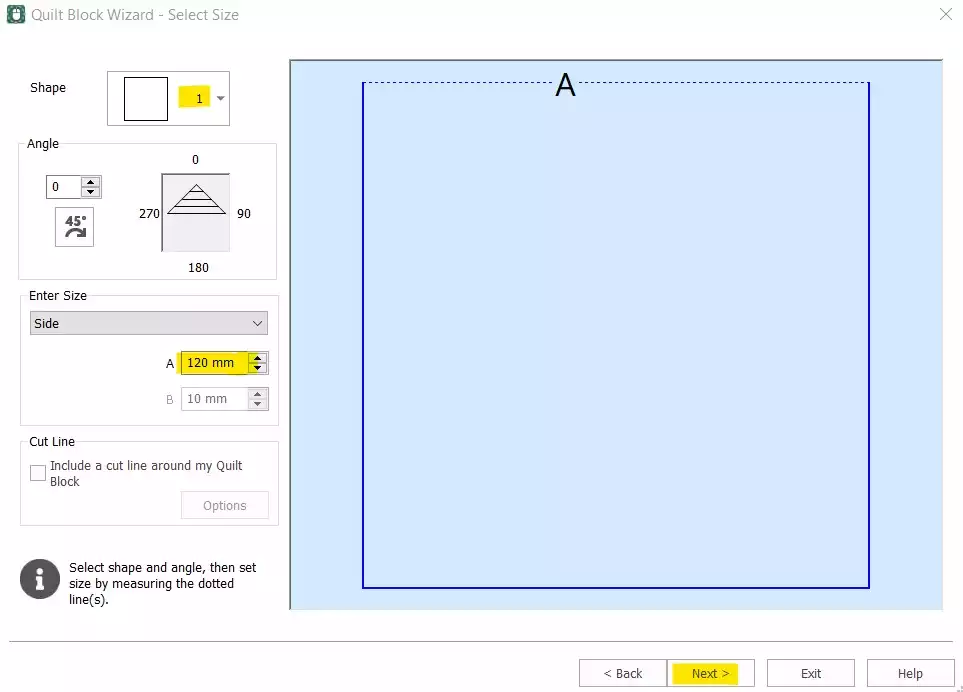
- Select Forma 1 (cuadrado) y configura el lado en 120 mm. Haga clic en Siguiente.
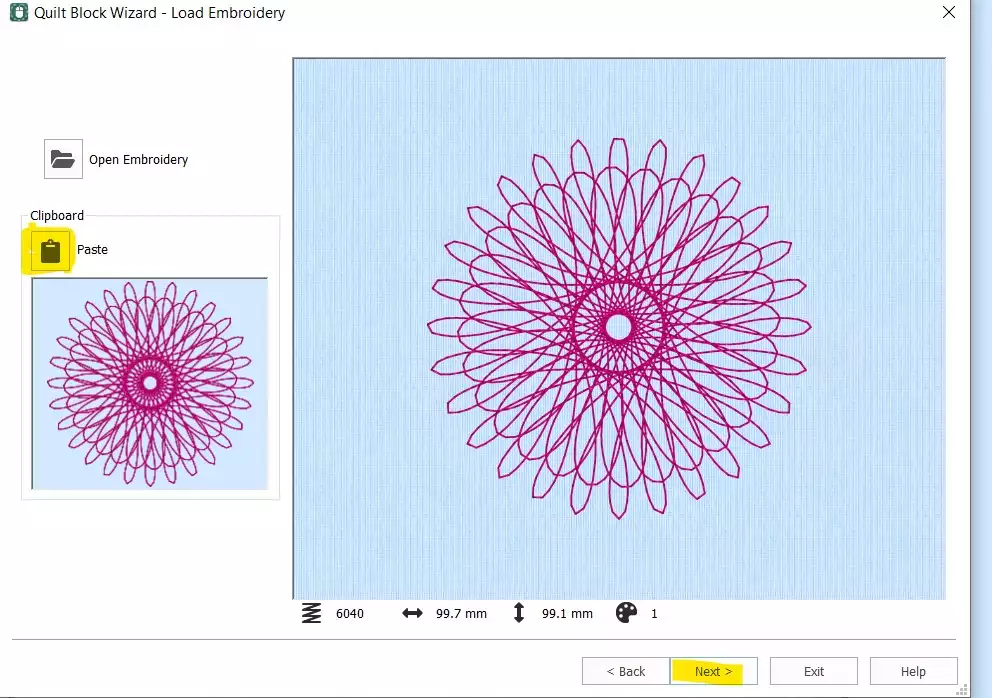
- Hacer clic Pegar para insertar el símbolo «Spiro» desde el portapapeles. Haz clic en Siguiente.
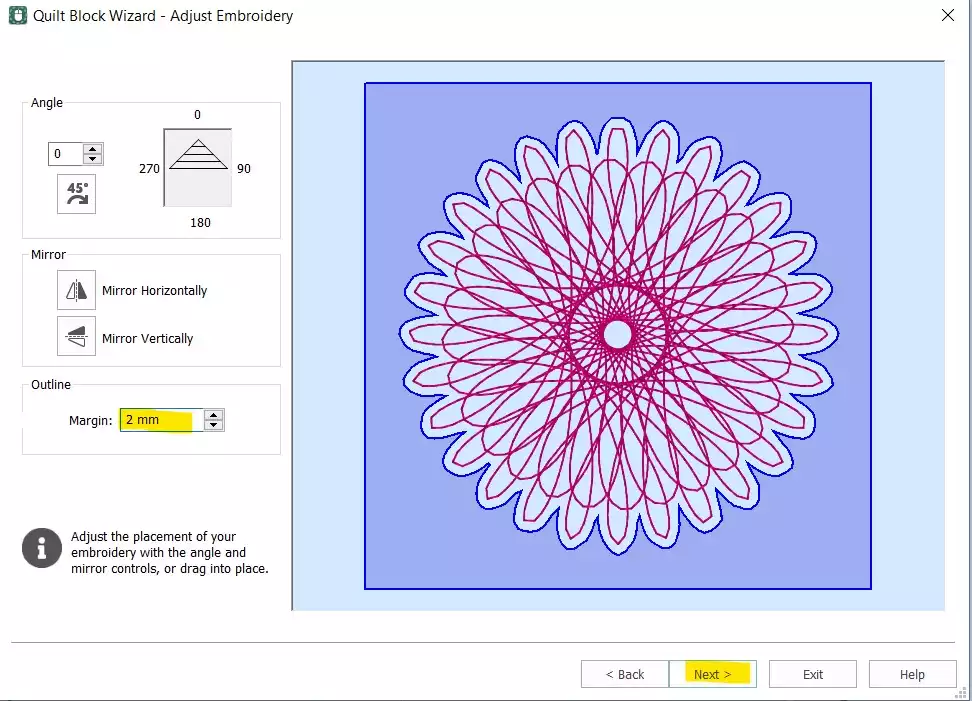
- Establece el Margen de 2 mm. Haga clic en Siguiente.
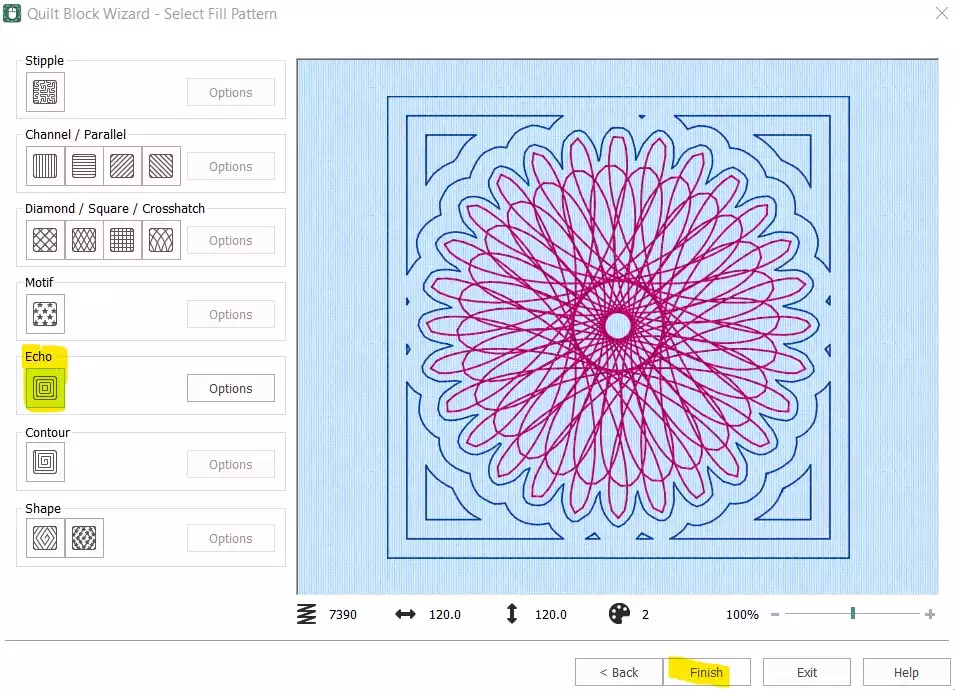
- Select Eco y haga clic en Finalizar.
Limpiar y ultimar el orden de las puntadas
- El bloque de la colcha ya está creado, pero aún hay que eliminar el Spiro independiente original y ajustar el orden de las puntadas antes de que el diseño esté listo para exportar.
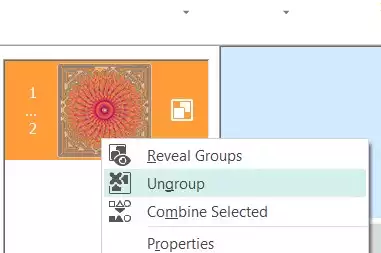
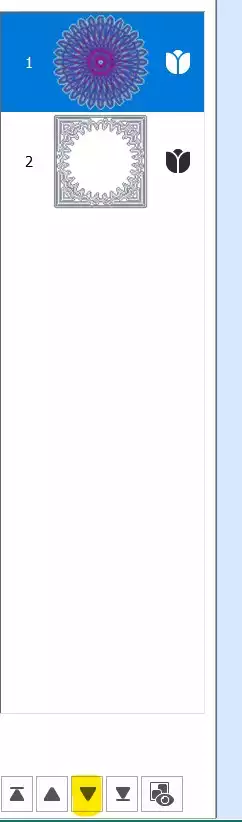
- En la tira de diapositivas, select primer color (el Spiro original), haz clic con el botón derecho y selecciona Borrar. Ahora solo debería quedarte el bloque de colcha con el Spiro incrustado. Haz clic con el botón derecho del ratón sobre el embroidery la tira de fotogramas y select Desagrupar.
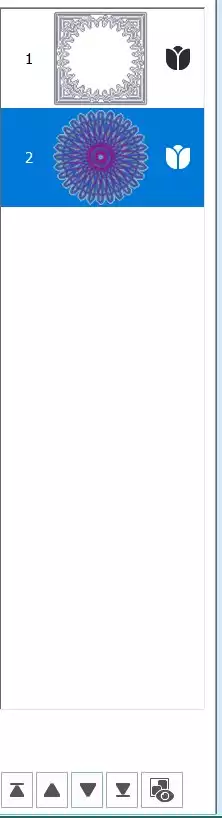
- Select primera parte (el Spiro) y utiliza el tecla de flecha hacia abajo en la parte inferior de la tira de película para bajarla en el orden de costura.
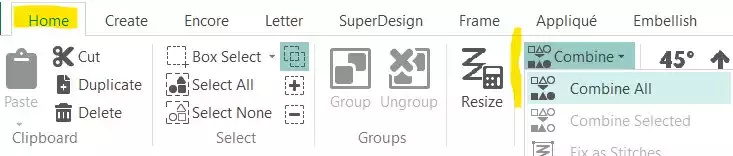
- Ir a la Pestaña «Inicio» y haga clic en Combinar → Combinar todo.
Guardar y exportar
- Tu bloque de colcha Spiro ya está listo. Guarda el archivo de trabajo y, a continuación, expórtalo en el formato que prefieras; por ejemplo, .vp3.