
Crie um bloco de colcha Spiro com o Quilt Block Wizard
CREATIVATE Educação
15 de julho de 2025
Crie um bloco de colcha Spiro com o Quilt Block Wizard
O Quilt Block Wizard a ferramenta Spiro formam uma combinação surpreendentemente poderosa. O resultado parece intrincado e complexo — mas, como poderá ver, é possível obtê-lo em apenas alguns passos simples. É uma técnica excelente para ter no seu conjunto de ferramentas para blocos de colcha, painéis decorativos ou qualquer projeto que exija um desenho geométrico marcante.
O que vai precisar
- Creativate Extra Elite (Windows ou Mac)
Instruções
Criar o Design Spiro
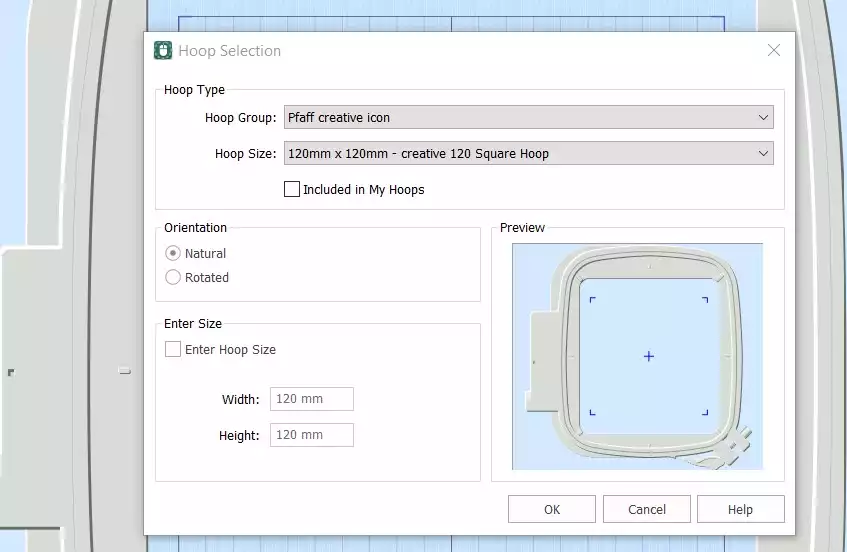
- AbraEmbroidery Creativate e selecione Tela em branco, e definir o tamanho do aro para 120 mm. Clique em OK.
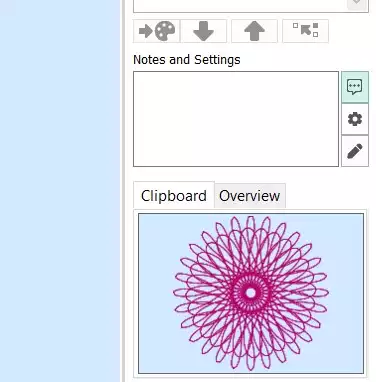
- Ir para o Criar separador e clique em Spiro. Quando a caixa de diálogo se abrir, defina o Tamanho para 100 mm e clique em Aleatório. Clique em OK na mensagem de aviso — será gerado um novo Spiro. Continue a clicar Aleatório até encontrares um desenho de que gostes. Também podes usar as alças para ajustar manualmente a forma. Clica OK quando terminar.
Dica: Para obter um guia completo sobre o Spiro Wizard, digite «Spiro» na função de pesquisa do Studio.
- Vá ao separador «Página inicial » e clique em «Copiar». O Spiro será agora guardado na área de transferência.
Fazer o bloco de colcha
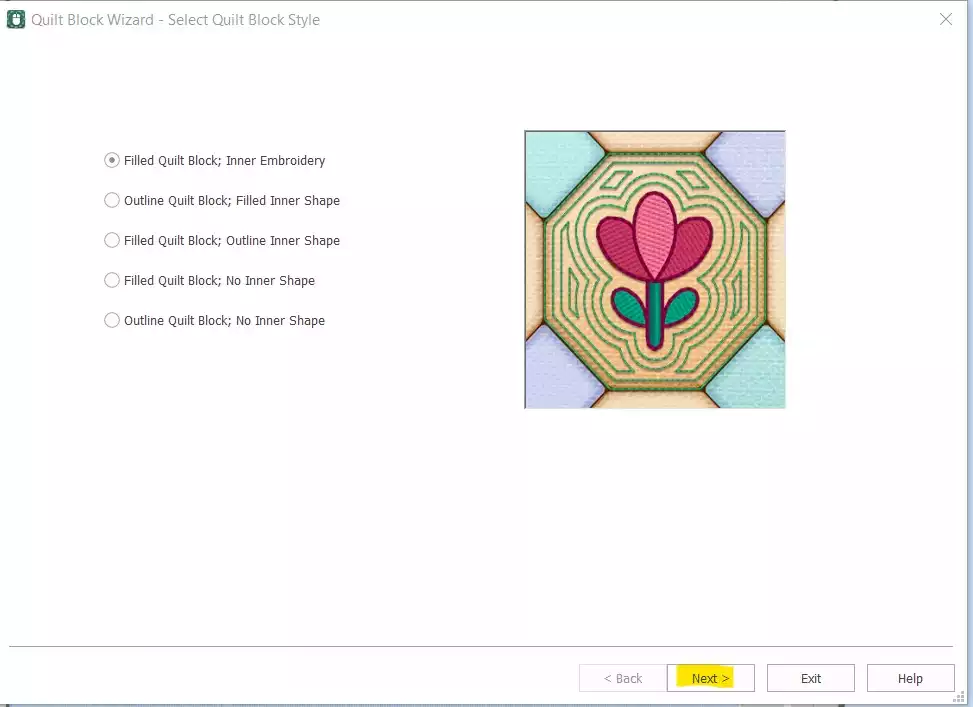
- Ir para Criar → Bloco de colcha e select Bloco de colcha preenchido: Embroidery interior. Clique em Seguinte.
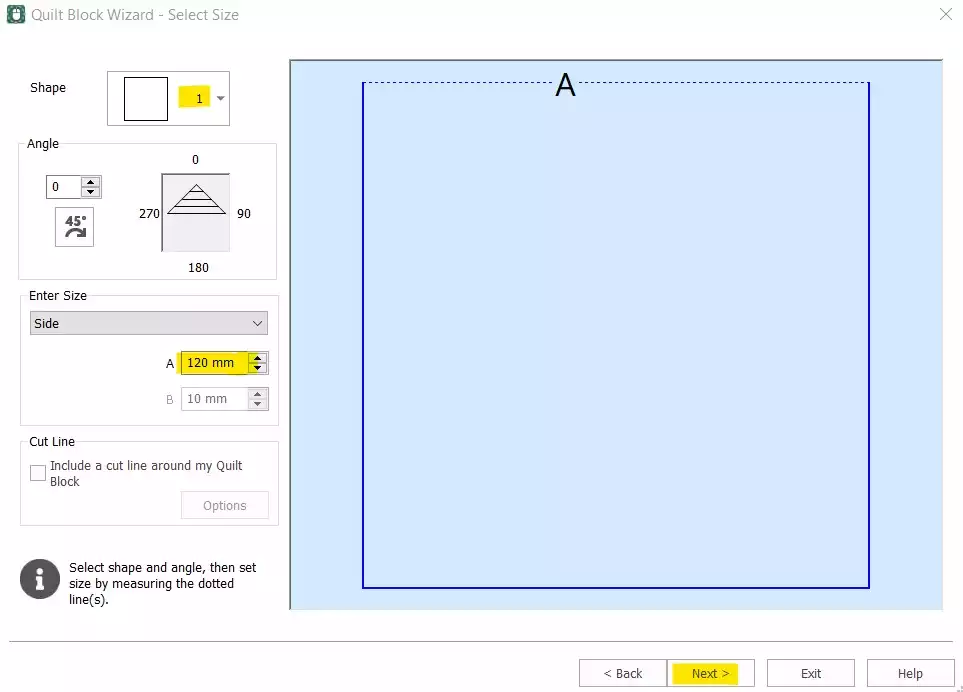
- Select Forma 1 (Quadrado) e definir o Lado para 120 mm. Clique em Seguinte.
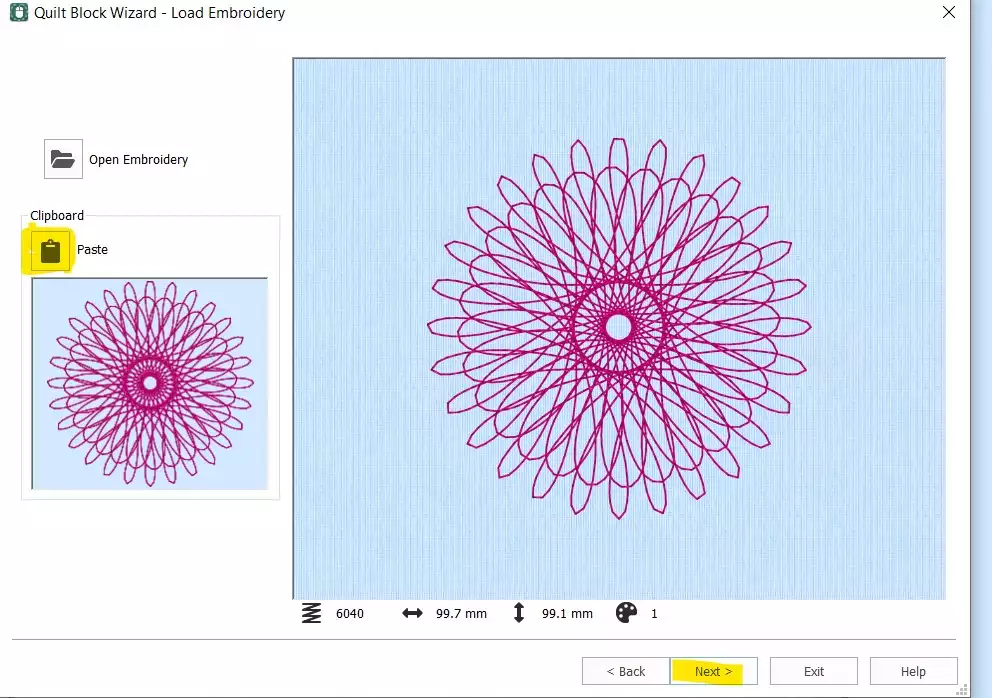
- Clicar Colar para inserir o Spiro a partir da área de transferência. Clique Seguinte.
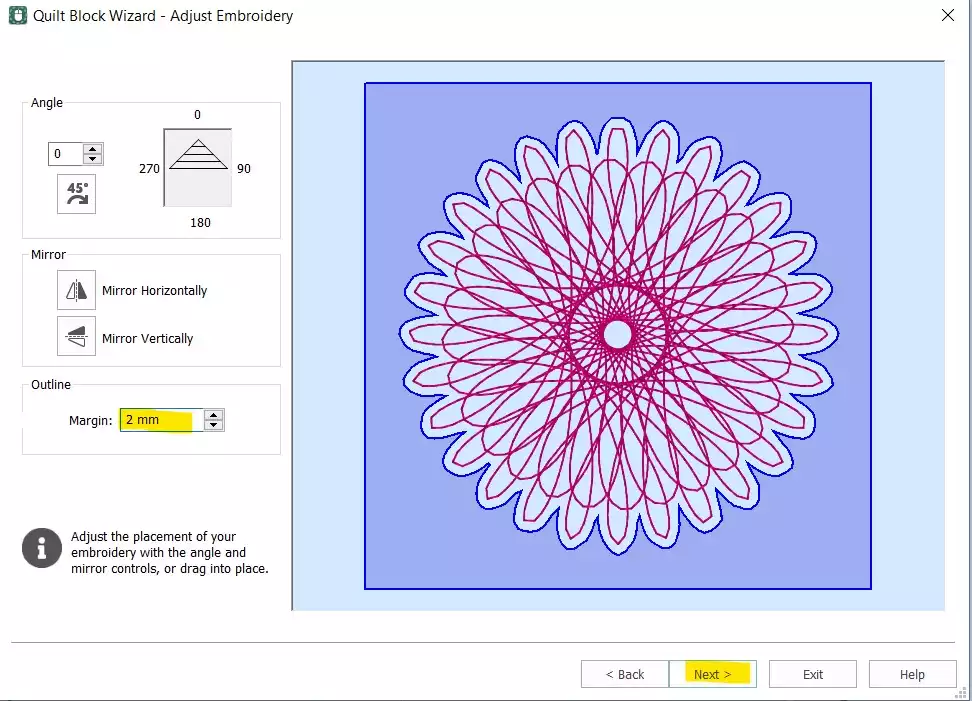
- Defina o Margem de 2 mm. Clique em Seguinte.
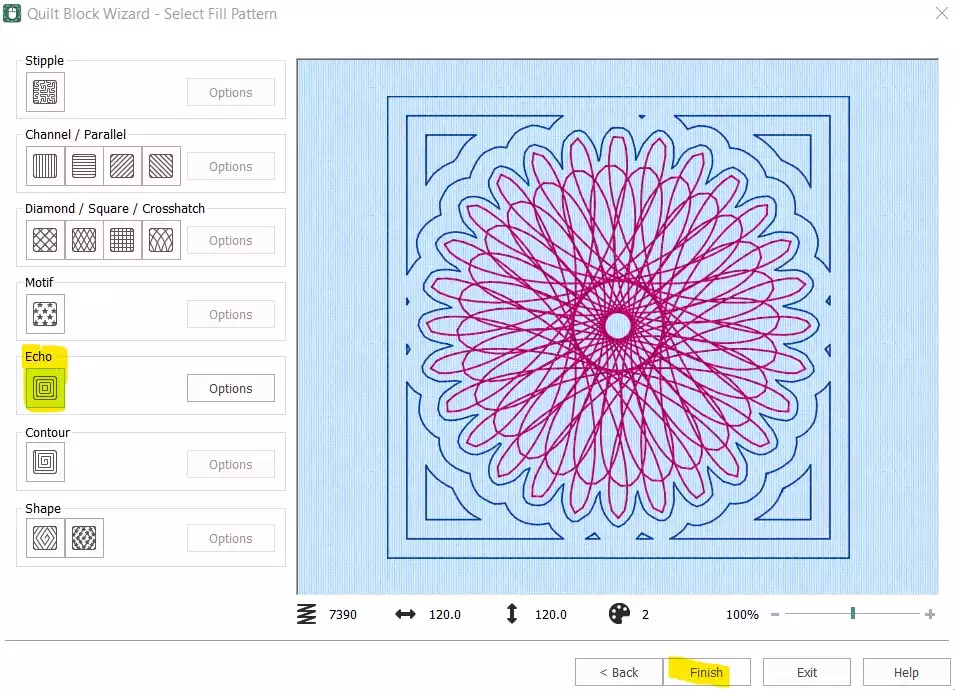
- Select Eco e clique em Concluir.
Limpar e finalizar a ordem dos pontos
- O bloco de colcha já está criado — mas o Spiro original independente ainda precisa de ser removido, e a ordem dos pontos precisa de ser ajustada antes de o desenho estar pronto para exportação.
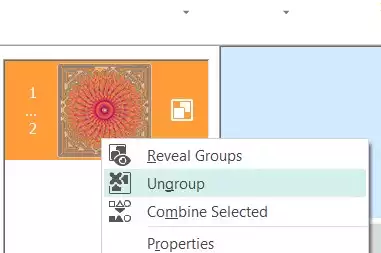
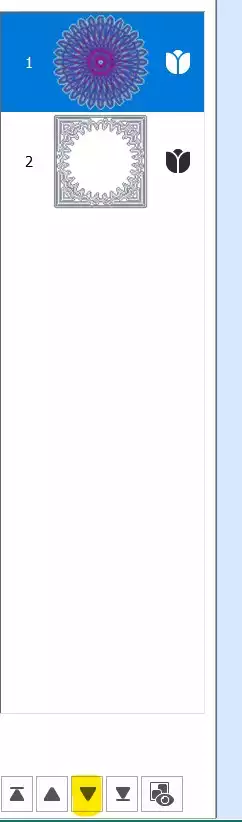
- Na Film Strip, select primeira cor (o Spiro original), clique com o botão direito do rato e escolha Eliminar. Agora deverá ter apenas o bloco de colcha com o Spiro incorporado. Clique com o botão direito do rato no embroidery Film Strip e select Desagrupar.
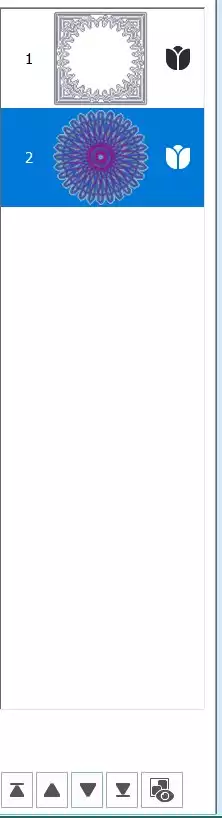
- Select primeira parte (o Spiro) e utilize o tecla de seta para baixo na parte inferior da tira de filme para a deslocar para baixo na ordem de costura.
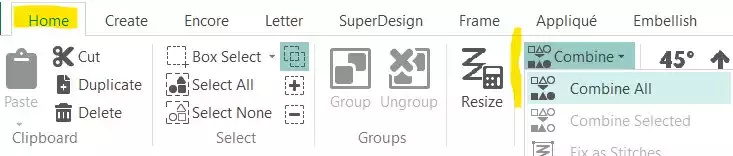
- Ir para o Separador «Página inicial» e clique em Combinar → Combinar tudo.
Guardar e exportar
- O seu bloco de colcha Spiro está concluído. Guarde o ficheiro de trabalho e, em seguida, exporte-o no formato da sua preferência — por exemplo, .vp3.