How to Adjust Your Embroidery Design
CREATIVATE Education
June 17, 2025
Design Adjustments
Alter and adjust your design with a handy collection of tools.
-
Align and resize
- Group elements in the hoop
- Change elements' layout order
- Change colors to a different thread range
- See a realistic preview of the design with LifeView
- Watch the design stitch out in the Design Player
|
Go to Design Catalog and search for your designs. Click Send to mySewnet Enable Device to send the design to your computer’s software. |
|
| In the Hoop Selection pop-up, choose the 360mm x 260mm hoop with Orientation: Natural. Click OK. | |
| Move the design to the top-right corner of the hoop. | |
|
Duplicate the design using the Duplicate button in the top menu or by right-clicking the design and selecting Duplicate. Click the triangle icon on the left side to mirror the duplicated design horizontally. |
|
| Move the duplicated design to the top-left corner. | |
|
Select both designs in the Filmstrip by holding down Ctrl or Shift while clicking them. You will see a pink flower icon next to these elements, indicating they are part of the library subscription and require an active subscription to stitch. |
|
| Click Alignment > Vertical Alignment > Align Top to line up the two design parts perfectly at the top of the hoop. | |
| Click Group to group the selected designs, allowing you to edit them together. | |
|
Notice the grouped design appears combined in the Filmstrip. |
|
| Duplicate the grouped design again. | |
| Rotate the new duplicate by clicking the Rotate 45 degrees icon four times to reach 180 degrees. | |
|
Place this rotated design below the first group. |
|
| Click Alignment > Horizontal Alignment > Align Center to perfectly align the square shape. | |
|
Use Combine All to merge all the designs into one complete design in the hoop. |
|
| Click Center in Hoop. | |
| Go to library.mysewnet.com and search for the center design 100430020. Click Upload to Cloud to add it to your cloud folder. | |
|
Insert the center design using the File menu. Note: Use Open to start a new design in a new window. Use Insert to add a design to your current canvas. |
|
| Click Center in Hoop again to perfectly position the new design in the center. | |
| Use Combine All again to merge the center design with the rest. | |
| Click ColorSort to combine duplicate thread colors, unless they overlap. | |
| You now have a finished combined design. |
Tips:
|
| To save your design, click File > Save As to save a .vp4 file that remains fully editable. | |
| To save in other formats, use Export. | |
| Since you used subscription library designs, only the .evp3 format is available for export. This format requires an active subscription to stitch. | |
| In the Export pop-up, you can also change settings under Optimize for Sewing via the Configure button. |
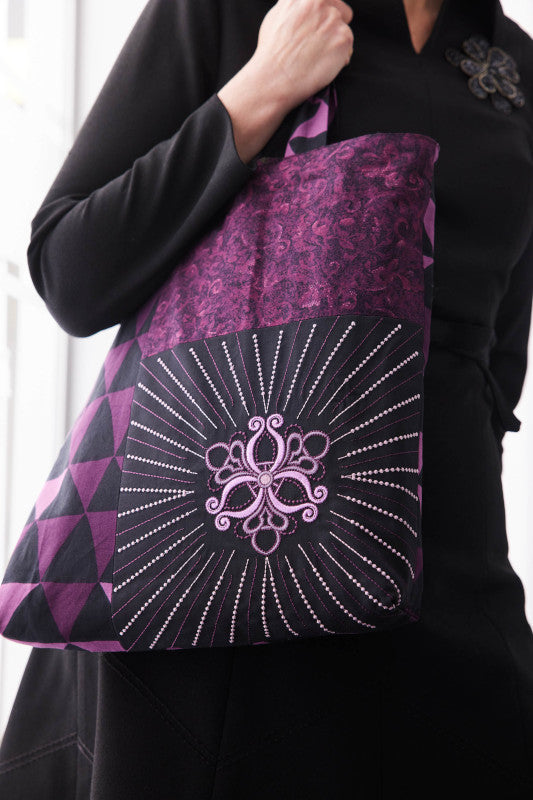
BONUS PROJECT Tote Bag!
Tote Bag Materials:
|
Embroider:
|
Sewing Instructions:
Done! |