
Create a Spiro Quilt Block with the Quilt Block Wizard
CREATIVATE edukacja
15 lipca 2025 r.
Create a Spiro Quilt Block with the Quilt Block Wizard
The Quilt Block Wizard and Spiro tool are a surprisingly powerful combination. The result looks intricate and complex — but as you'll see, it comes together in just a few straightforward steps. It's a great technique to have in your toolkit for quilt blocks, decorative panels, or any project that calls for a striking geometric design.
Co będzie potrzebne
- Creativate Extra Elite (Windows lub Mac)
Instrukcje
Create the Spiro Design
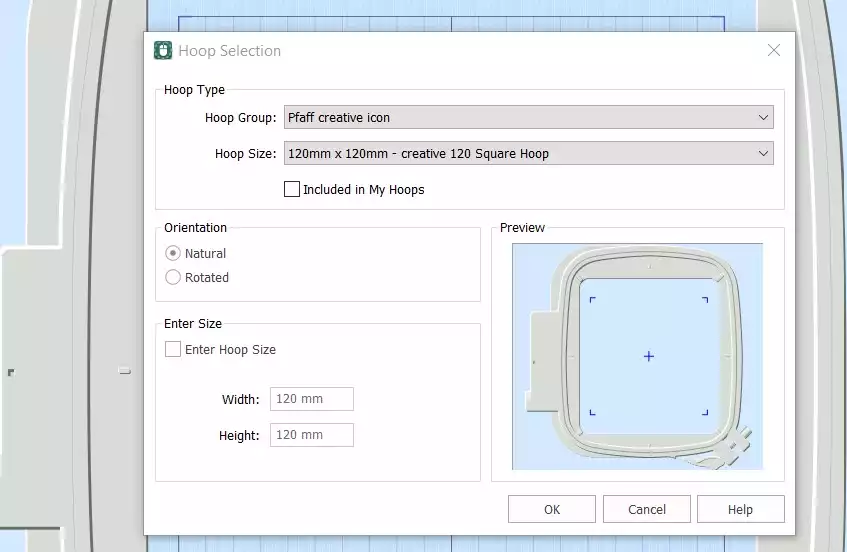
- Open Creativate Embroidery Software, choose Puste płótnooraz ustaw rozmiar obręczy na 120mm. Kliknij OK.
- Przejdź do Karta Utwórz i kliknij Spiro. When the dialog box opens, set the Size to 100mm i kliknij Random. Kliknij OK on the warning message — a new Spiro will be generated. Keep clicking Random until you find a design you like. You can also use the handles to fine-tune the shape manually. Click OK when finished.
Tip: For a full guide to the Spiro Wizard, type "Spiro" into the search function in Studio.
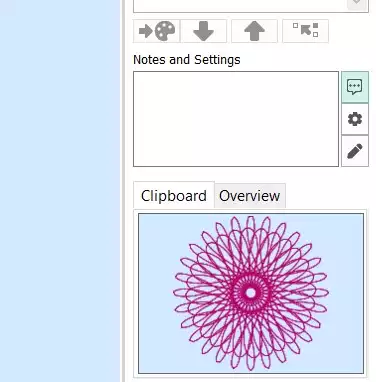
- Go to the Home tab and click Copy. The Spiro will now be saved to the clipboard.
Build the Quilt Block
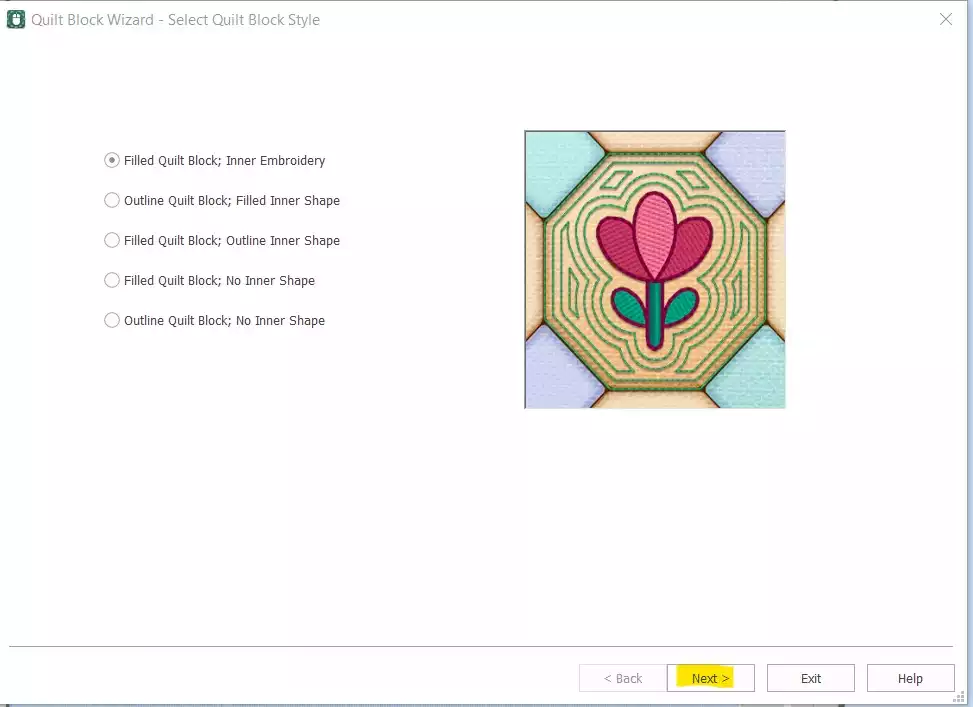
- Przejdź do Create → Quilt Block i select Filled Quilt Block: Inner Embroidery. Kliknij Następny.
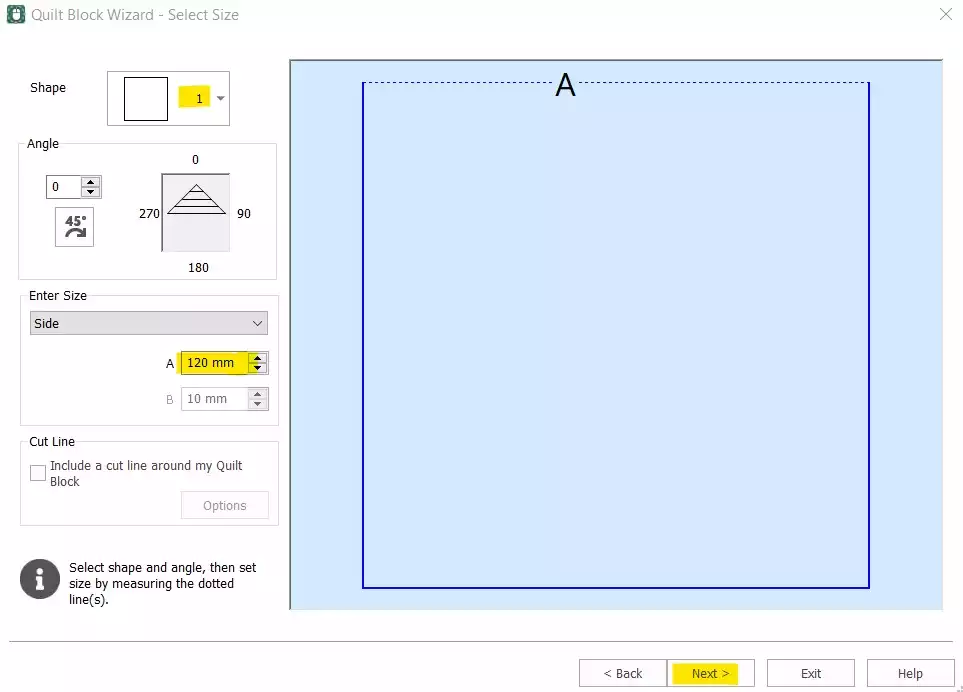
- Select Shape 1 (Square) and set the Side to 120mm. Kliknij Następny.
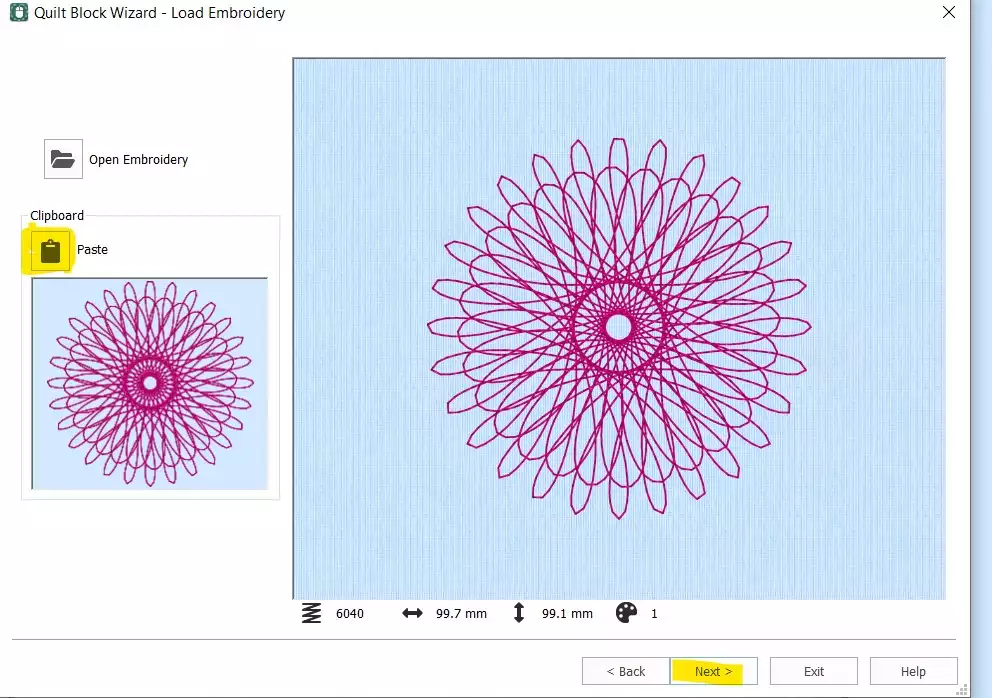
- Kliknij Wklej to insert the Spiro from the clipboard. Click Następny.
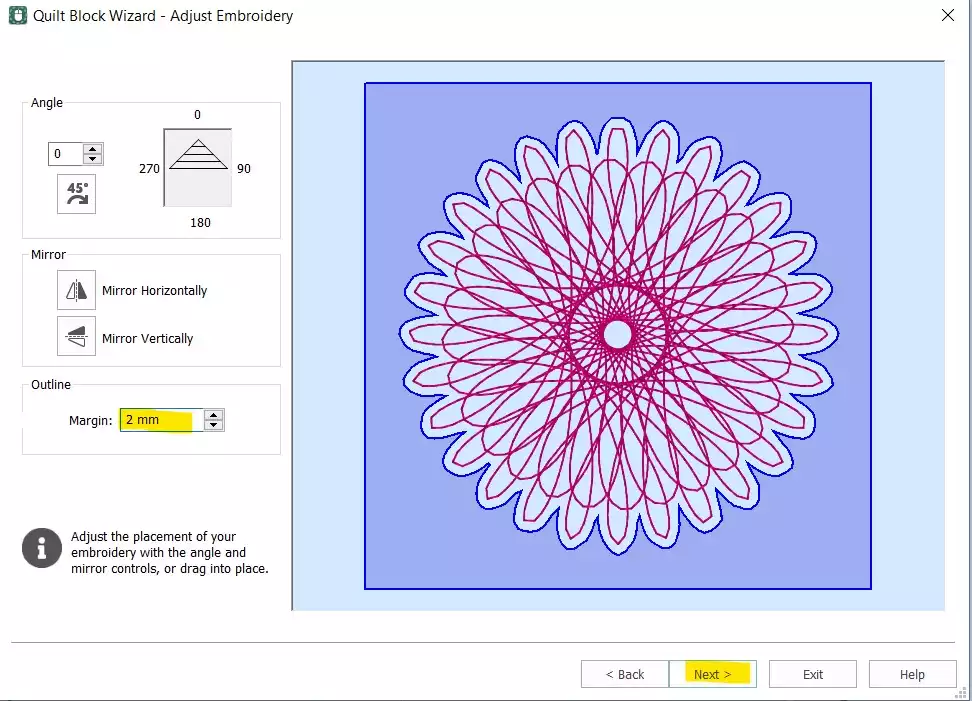
- Ustaw Margin to 2mm. Kliknij Następny.
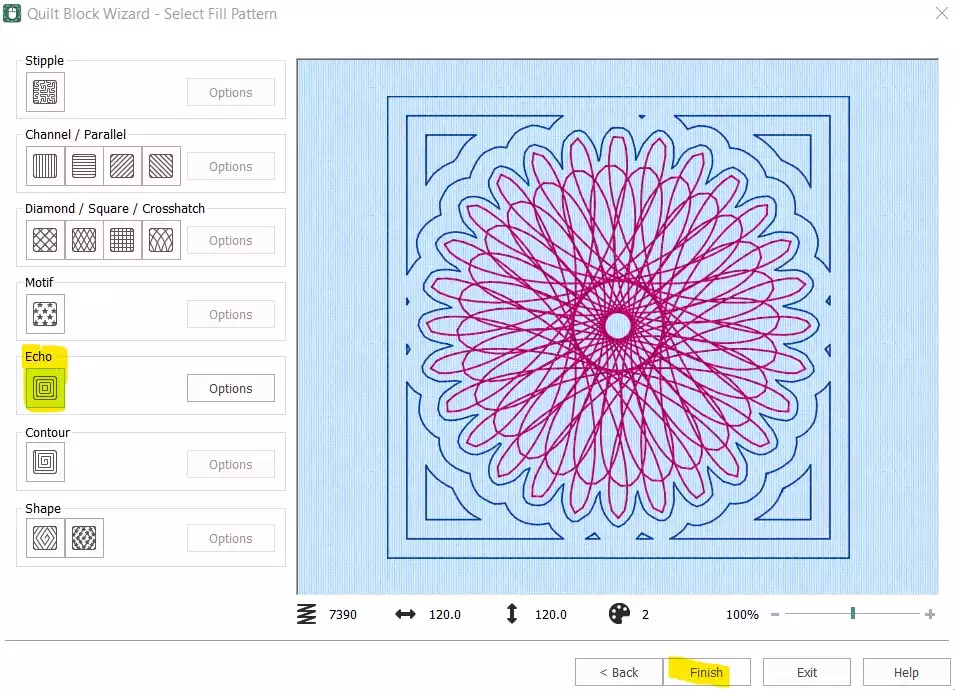
- Select Echo i kliknij Zakończenie.
Clean Up and Finalize the Stitch Order
- The quilt block is now built — but the original standalone Spiro still needs to be removed, and the stitch order needs adjusting before the design is ready to export.
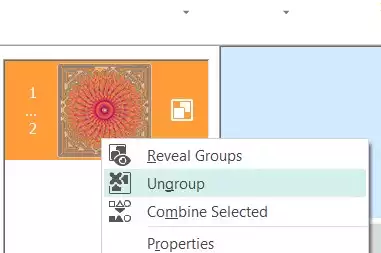
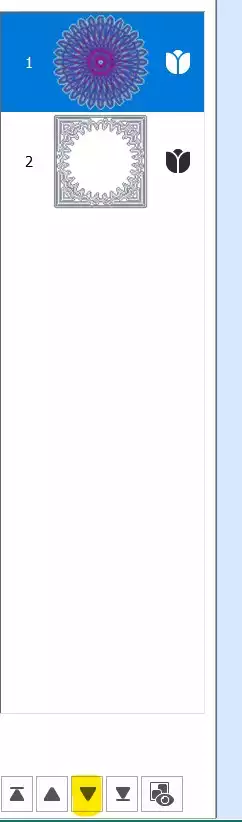
- In the Film Strip, select the first color (the original Spiro), right-click, and choose Usuń. You should now have only the quilt block with the embedded Spiro remaining. Right-click on the embroidery in the Film Strip and select Rozgrupuj.
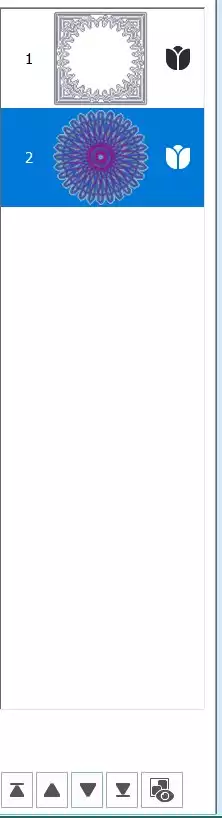
- Select the first part (the Spiro) and use the down arrow key at the bottom of the Film Strip to move it down in the stitch order.
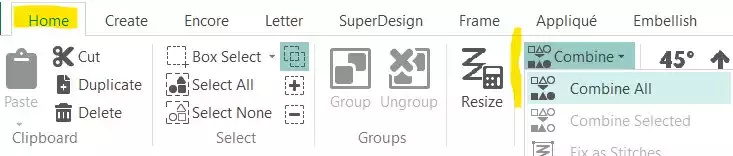
- Przejdź do Karta „Strona główna” i kliknij Połącz → Połącz wszystko.
Zapisz i eksportuj
- Your Spiro Quilt Block is complete. Save the working file, then export in your preferred format — for example, .vp3.