Wing Needle Sewing 101
CREATIVATE Education
August 28, 2025
The Art of Wing Needle Sewing
Have you tried sewing with a wing needle? I guess a lot of you have it in your toolbox but have never used it. Let’s change that!
Wing needle sewing is a unique and beautiful technique that adds a delicate, decorative touch to your sewing projects. Whether you're a seasoned seamstress or a curious beginner, this guide will inspire you to explore the creative possibilities of wing needle sewing.

Why Wing Needle Sewing?
Wing needle stitching is known for its airy, hand-worked look—perfect for heirloom details that feel vintage, yet stitch up quickly on your machine.
What is a Wing Needle?
A wing (hemstitch) needle has small “wings” on each side of the shaft. These push fibers aside to form clean holes without cutting the fabric.
- Size 100/16: Best for medium-weight cotton, linen, batiste. Great for napkins, table linens, lightweight garments.
- Size 120/19: Best for heavier fabrics like wool and thicker linens. Creates more pronounced holes for winterwear and home decor.
Which Fabrics Work Best?
Natural fibers give the cleanest, most beautiful results. Choosing the right fabric is crucial for achieving beautiful results with wing needle sewing. Here are some top choices:
- Cotton: Versatile, crisp holes, ideal for napkins, tablecloths, clothing details.
- Linen: Strong, classic heirloom look, great for napkins, handkerchiefs, vintage-style garments.
- Batiste: Lightweight, semi-sheer, lovely for baby clothes, lingerie, delicate decor.
- Silk: Elegant results; test first and stabilize as needed.
- Wool: Handles pressure well; bold texture for garments and decor.
Thread & Presser Feet
- Thread: Use fine 50–60 wt cotton on top and bobbin. Matching color to fabric is traditional, but you’re the designer!
-
Feet to try:
- Zigzag/decorative-stitch foot (often the standard recommended for zigzag).
- Open-toe foot for maximum visibility (great for decorative lines and applique).
- Clear foot to easily follow markings or drawn threads.
Machine Setup
- Insert the wing needle and thread manually.
- Select a decorative stitch that re-enters the same holes multiple times (often shown bolder in your stitch chart).
- Reduce stitch width so the wings don’t hit the needle plate. Many machines have a max-width limiter—use it if available.
Fabric Prep
- Stabilize: Use water-soluble stabilizer under the fabric to avoid puckering.
- Or Starch: Spray, press, repeat until fabric is crisp. Starch softens with use and washes out completely.
- Test on scraps to dial in settings before your project.
Tips for Success
- Mark a guide line and align it with the foot center for straight rows.
- Let the feed dogs move the fabric, avoid pushing or pulling.
- Choose stitches with lots of in-and-out motion to enlarge the holes.
- Slow at corners; pivot with needle down for clean turns.
- After stitching, rinse to remove starch/stabilizer and press to smooth any marks.
Which Stitches Work Best?
Look for stitches that enter the same hole repeatedly. Many machines include heirloom stitches (often bolded on the chart).
- Experiment: Stitch a sampler on scrap fabric.
- Combine: Mix rows and patterns for unique textures.
- Tune settings: Adjust length and width for the look you want.
Creative Applications
- Napkins & Table Linens: Hemstitched edges for instant elegance.
- Clothing: Embellish collars, cuffs, plackets, hems.
- Home Decor: Accent pillowcases, curtains, runners, and more.
Ready to Stitch? Try These Projects
Practice your wing needle skills with these quick wins.
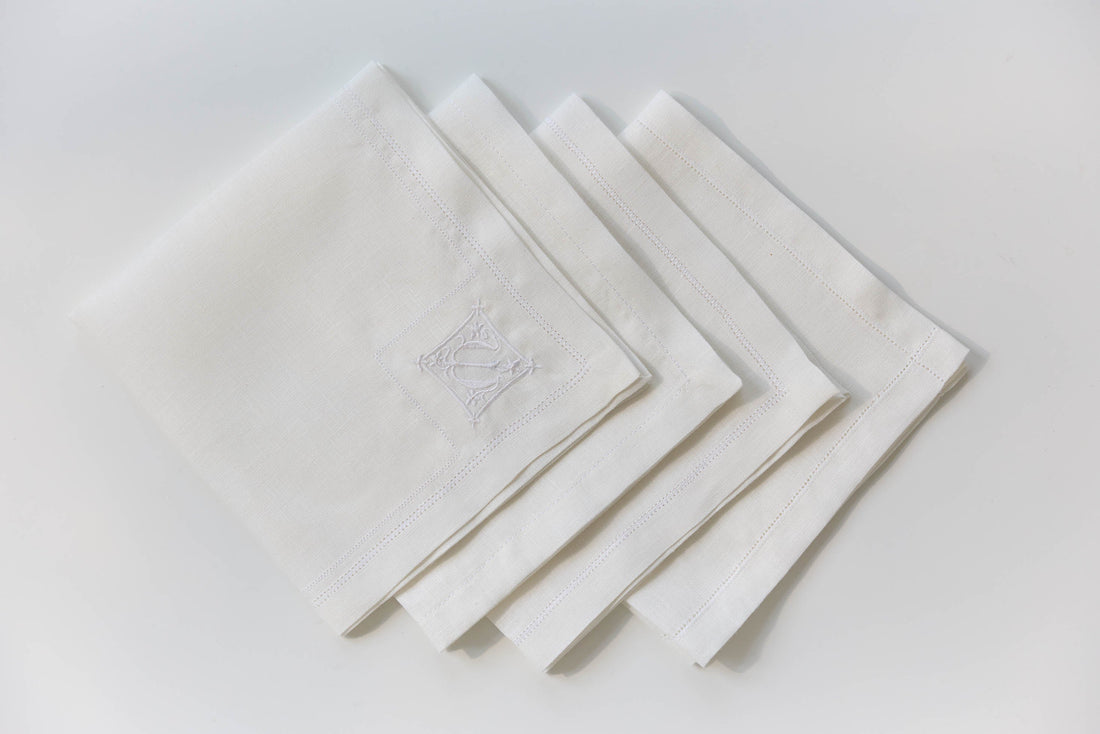
Simple decorative rows add a refined heirloom edge to a classic napkin.
Make This NapkinPersonalize linens with monogramming and delicate hemstitch-inspired lines.
Stitch the Monogram Version