skip to content
Toggle main navigation
Cross Stitch Creation Tool

Cross Stitch Creation Tool

CREATIVATE Education

.

June 12, 2025

Cross Stitch, Design attractive cross stitch embroideries.

  • Create traditional, high-quality cross stitch designs
  • Use the wizard to load an image and automatically create a cross stitch design
  • Load a pre-made cross stitch chart into the background
  • Click in the grid squares to place crosses, draw outlines with backstitch, and add French knots
  • Design your own cross stitch using shapes, text, fill patterns and the multiply feature


Start a New Project

  • Open a blank canvas.

  • Select the 360x260mm hoop and set the orientation to Rotated.


Open the Cross Stitcher Tool

  • Go to the Create tab and click Cross Stitcher.

  • The Cross Stitch module and Cross Stitch Wizard will open.


Choose Your Design Type

  • Select Start a New Cross Stitch Design (No Picture).

  • Click Next.


Set Stitch Size and Design Area

  • Adjust the size of the crosses and the number of stitches (height and width).

  • Check that your finished design fits your hoop size unless you plan to split the design.

  • You can find the finished size under Information.

  • Click Finish.


Set Thread Properties

  • Open Design Properties to set your thread count.

  • For a hand-stitched look, choose up to 12 threads—perfect for embroidery thread.


Start Adding Stitches

  • Go back to the Create tab to start placing stitches.

  • Choose the traditional cross design (we will use this style in this example).


Add Your Design

  • Follow your pattern or create your own by adding crosses to the grid.

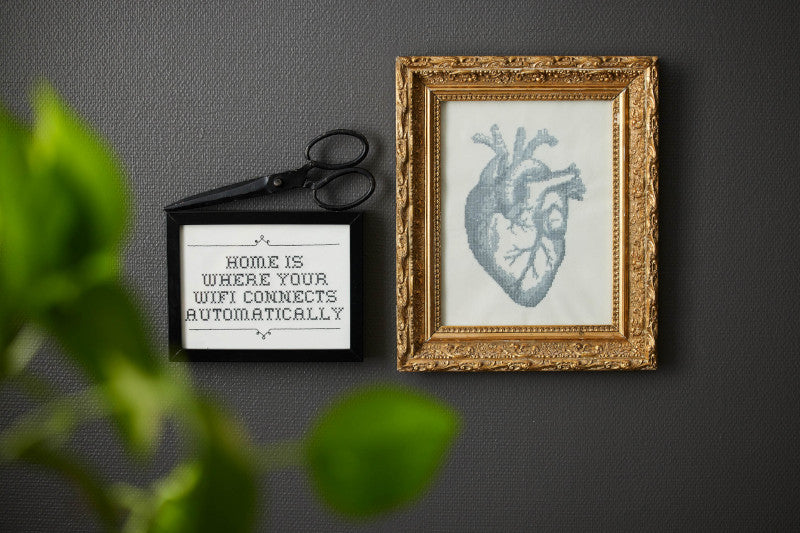
  • For example, you can recreate the WiFi design using an old monogram book font as inspiration.


Send to Your Machine or Save

  • If you have a mySewnet-enabled machine, send the design directly for stitching or save it to the Cloud.

  • To save your design for later editing, click File > Save As and save it as a .krz file (this keeps the design editable).


Export in Different Formats (Optional)

  • To use a different file format, choose File > Export.

  • Pick the format your embroidery machine requires.

  • On the export pop-up, you can also adjust options under Optimize for Sewing via File > Configure > Export Tab.

  • Uncheck Combine and Color Sort if you prefer to manage these manually—especially helpful for appliqué designs.

  • Click Apply and then OK when done.


Print a Template (Optional)

  • Go to File > Print to create a printed template.

  • Ensure the Design Scale is set to 100% for accurate sizing.

  • Select the details you want to print by checking/unchecking boxes under Print Information.