skip to content
Toggle main navigation
Sketch – with Embroidery Software

Sketch – with Embroidery Software

“Draw” your own stitch paintings and bring your ideas to life!

CREATIVATE Education

.

June 12, 2025

Key Features:

  • Draw freehand or straight stitch lines using running, triple, or satin stitches.

  • Use the Motif Line tool to sketch with your machine’s built-in stitch motifs.

  • Add personal signatures or monograms using the Calligraphy feature.

  • Great for adding texture, dimension, and enhancing details with a 3D effect.


How to Start Sketching:

 Open a blank canvas and select the 150x150mm Hoop (Natural Orientation).


Go to the Create tab, then click Sketch.


  • A pop-up window will appear with start-up options:

    • Load Picture for New Embroidery: Draw stitches on top of a picture printed or transferred to fabric—or simply use the picture as a background guide.

    • Load Existing Embroidery: Open a previous embroidery file to edit or enhance.

    • Start New Embroidery: Begin with a blank canvas and no background image.


Select Load Picture for New Embroidery and click Next.


Confirm the hoop size as 150x150mm, Natural Orientation and click Next again.


Select Your Background Image:

  1. Choose the image source:

    • Load Picture: Browse and select from your folders.
      - Practice Image Here

    • Paste Picture: Use an image you've copied earlier.

    • From Scanner/Camera: Import directly from your device.

    • Create New Picture: Open Draw & Paint to make a new image.

    • Edit Picture: Available after selecting an image to make adjustments.

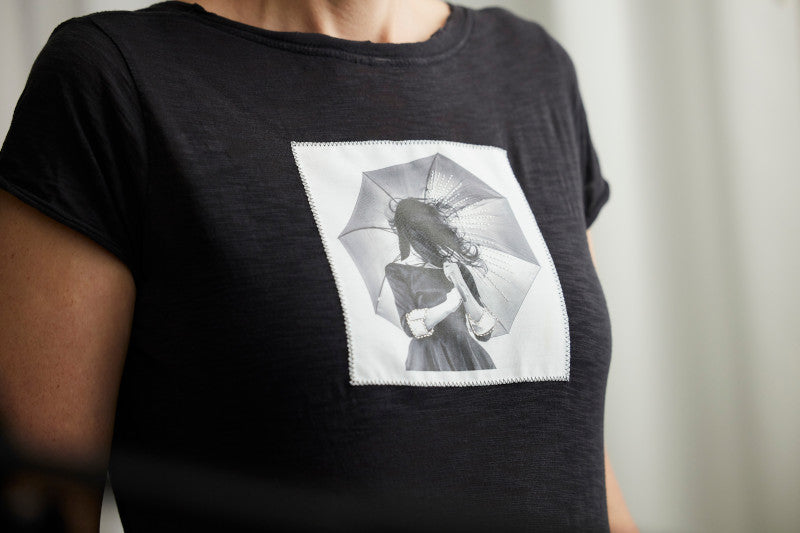
      • Find the image you'd like to enhance with stitches (such as the umbrella sample) and click OK.


Adjust Your Image:

  1. In the preview screen, you can zoom, crop, rotate, or adjust perspective.

  2. When done, click Next.

  3. Set the image size to fit smaller inside the hoop if needed (cannot exceed hoop size).


Prepare to Sketch:

  1. Click the First Thread button, then select the color to use as your first stitch color.

    • (Tip: Use a contrasting color like blue for easy visibility.)

  2. Click Next.


Alignment Stitches:

Choose how to place alignment stitches (optional):

  • Place Crosses Manually

  • Automatic Corners

  • None (if using machine placement or existing alignment stitches)

Click Finish to enter the Sketch workspace.


Sketch Your Design:

  1. In the Sketch window, use the tools on the right to select thread color and stitch type.

  2. For this example:

    • Select Metallic Silver Thread.

    • Choose Triple Stitch.

    • Click Options, set stitch length to 3.0mm, and click OK.

  3. Select the Straight Line Tool and draw lines where desired (like highlighting an umbrella).

  4. Zoom in for finer details such as cuffs or small accents.


Save & Export Your Design:

  • Click File > Save As to save your design as a .vp4 file (fully editable).

  • To save in a different format for your machine, use Export and select from the available file types.